


| By: Paul S. Cilwa | Viewed: 4/15/2024 Posted: 8/15/2017 |
Page Views: 3435 | |
| Topics: #Music #Ripping #Tapes #Reel-to-Reeltapes #Cassettetapes | |||
| A quick tutorial on how to rip tracks from your own reel-to-reel, cassette, and 8-track tapes. | |||
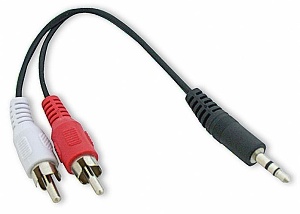
The final frontier, so to speak, of ripping your analog music sources, is tape—or, more broadly,
any source that produces a "Line Out" signal that you used to have to plug into an amplifier, but
can now (with the appropriate patch cable) be plugged directly into your computer's "Line In" jack.
 The actual recording/digitizing will be done with Audacity, whose use I've previously described for use with
tracks taken from vinyl; the basic usage of the application is the same, of course; but digitizing from
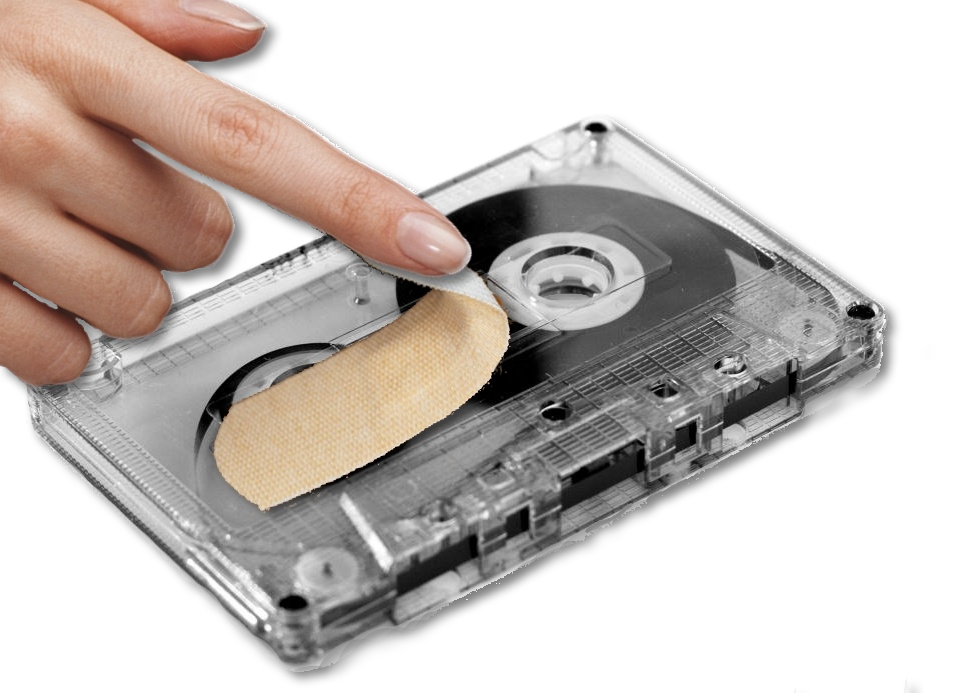
tape has special challenges of its own. Tapes, for starters, do not include surface noise like records; but
they are (especially in the form of cassettes and 8-tracks) prone to "tape hiss".
The actual recording/digitizing will be done with Audacity, whose use I've previously described for use with
tracks taken from vinyl; the basic usage of the application is the same, of course; but digitizing from
tape has special challenges of its own. Tapes, for starters, do not include surface noise like records; but
they are (especially in the form of cassettes and 8-tracks) prone to "tape hiss".
A conventional turntable does not have a "Line Out" connector; it must be plugged into a pre-amp, or the pre-amp connection of a standard stereo amplifier. However, turntables are the exception; everything else you might use as an analog music source does provide a "Line Out" output which can be plugged directly into your computer (with an appropriate patch cord).
Setup
Audacity is an open source (free) application that is as powerful an audio editor as you can find. The best place to obtain it is from SourceForge, a non-commercial open source distribution site.
The trickiest thing about Audacity is that it thinks in terms of Projects, while you are more likely to think in terms of the digital audio file you are working with. Just remember that a Project can be composed of several, not just one, audio files. So you create a Project (either explicitly or by simply starting the app) and then import audio files into it (again, either explicitly or by simply dragging one onto the app). When you are done with your edits, you then export the audio into a new file (or over the original).
So, after downloading and installing Audacity, start it; plug in your device, and select the appropriate input source. The illustration shows my computer; you'll want to pick some sort of "Line In" source rather than the Windows Mixer, which would include any system sounds or notifications that might come along while you're recording. You'll also want to choose the correct number of channels (two for stereo, of course; but if your source is, in fact, monaural, just record one channel. The file will then take up about half the space.
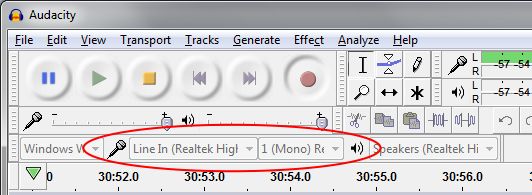
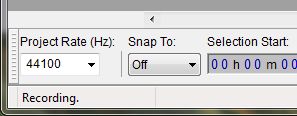
At the bottom of the Audacity screen is another option you'd want to ensure reflects your desires. That's the frequency rate at which this project is to be digitized. The default, 44,100 Hz, is CD quality. 48,000 Hz is BluRay quality. Depending on the quality of the tape (reel-to-reel is darn near perfect) and the complexity of the music, your digitization might well benefit from using the higher frequency rate—but the file will be a lot bigger. It's still a trade-off between sound quality and storage space, as it's always been.
At this point you should click the Record button to test the sound volume.
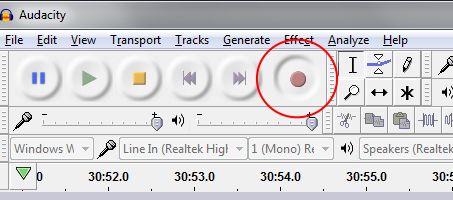
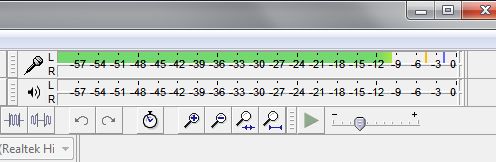
Adjust it if need be so that the recording level is as high as possible while never (or as close to never as possible) exceeding 0 db. (Important: Keep the recording levels the same for the entire album or tape. That will allow us to retain the relative volume of each track to the album as a whole.)
When you've got the volume where you want it, you are ready to start recording. This will, of course, be a real-time operation. I usually stop the recording and close the track window, the hit the Record button again to start fresh. Start recording first, then start the tape from the beginning.
When the tape reaches the end of its side (in the case of cassette or reel-to-reel), turn it over without stopping Audacity; we'll remove any space between sides from the recording afterwards.
Most albums on tape are 30-42 minutes long; your capture will take as long, plus the time it takes you to flip the tape from one side to the other. So go get some coffee, or watch an episode of The Big Bang Theory while you wait. (If you come back late, you can always trim the "silence" from the end.)
Remove Tape-Flipping Silence
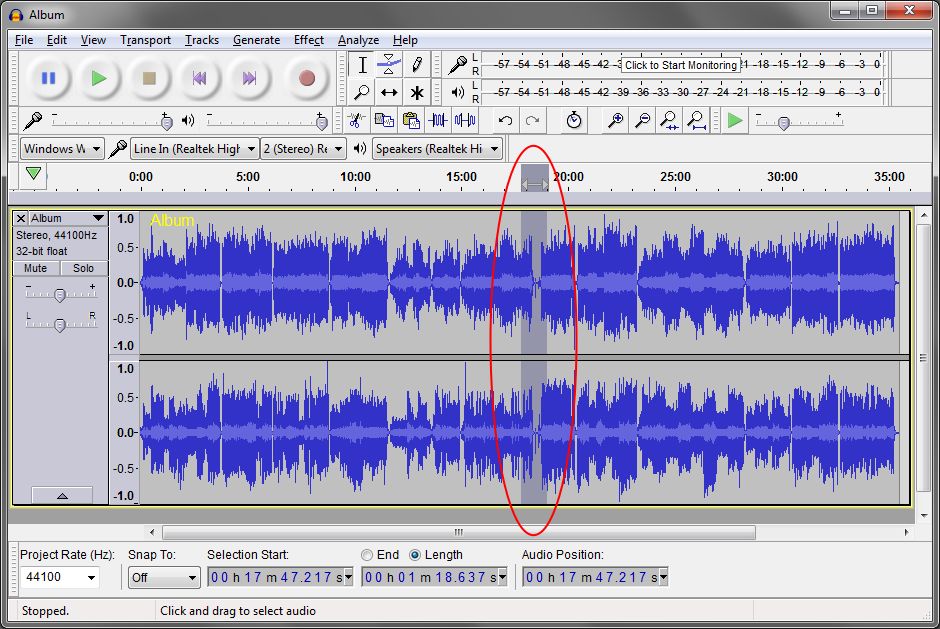
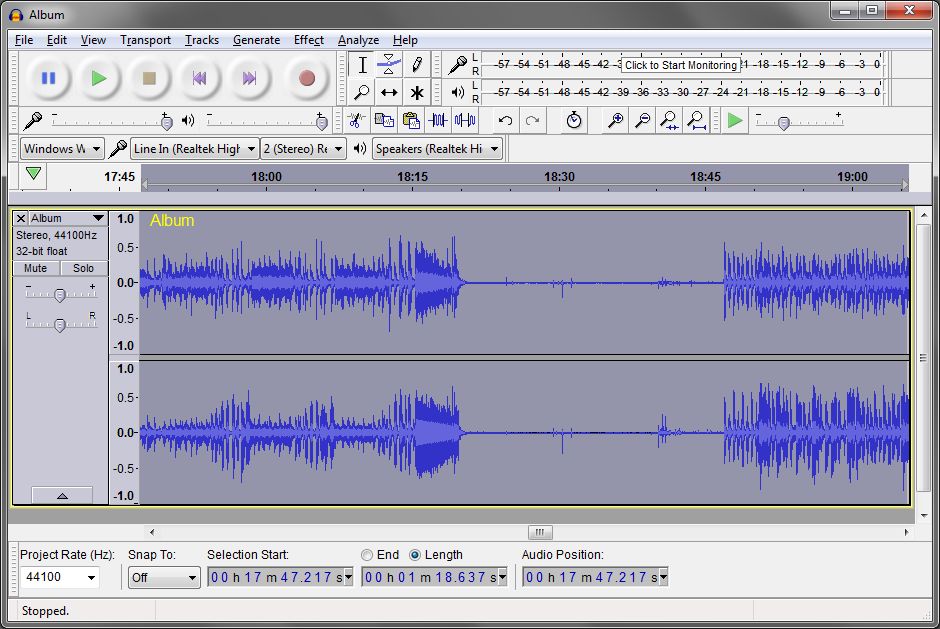
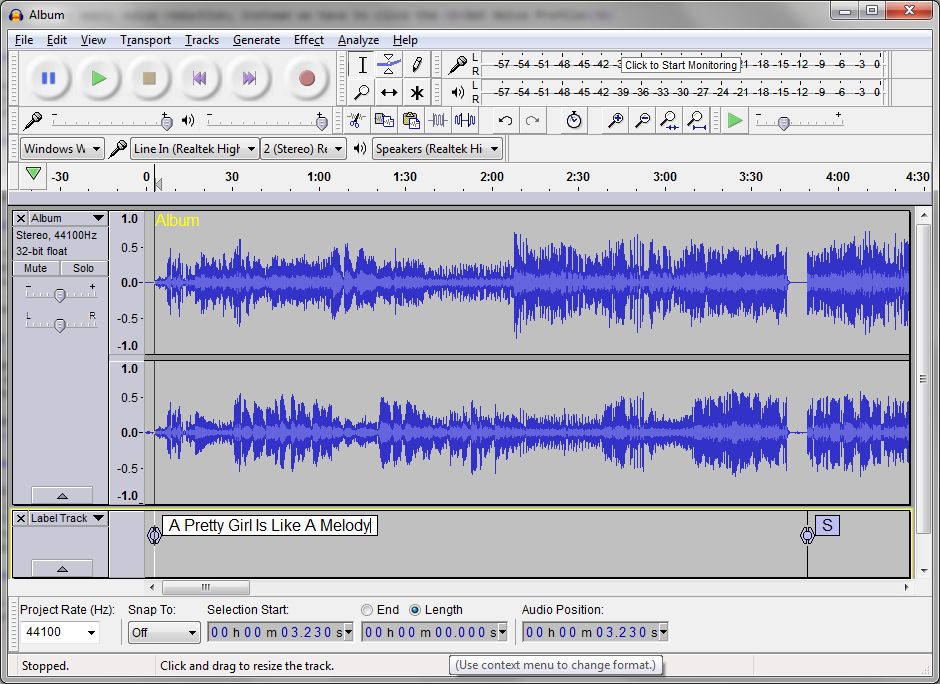
Now, our very first step is to remove the silence (and possible extraneous noise) from flipping the tape from one side to the other (approximately in the middle of the album). The way to do this is to select, by dragging the mouse, the section you want to examine. (It's generally easy to find the changeover spot, because it literally looks different than the other inter-track spaces.) But be careful not to make the inter-track separation too short, because Audacity will be using those silences to identify the tracks and split them.
There are four icons on the toolbar that control zoom. They are, from left-to-right, Zoom In, Zoom Out, Zoom to Selection, Zoom to entire file.
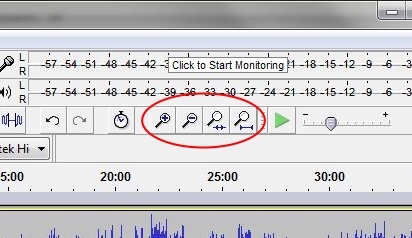
So clicking Zoom to Selection now will do just that.
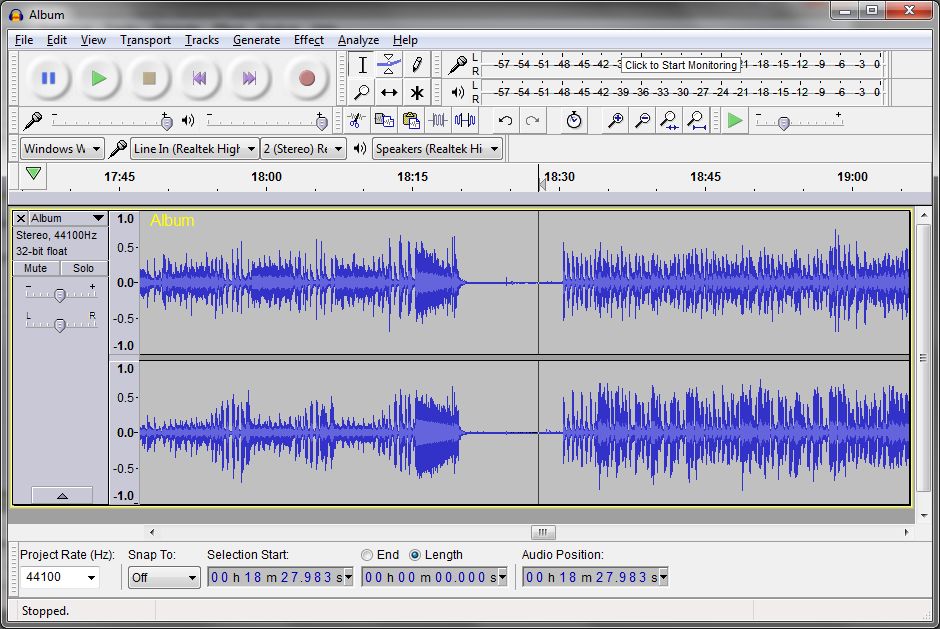
Now you'll want to select the section you want to remove, but be sure and leave at least a second of space between the two tracks.

Then all you have to do is tap your computer's Delete key and the offending section will be removed.
Reduce General Surface Noise
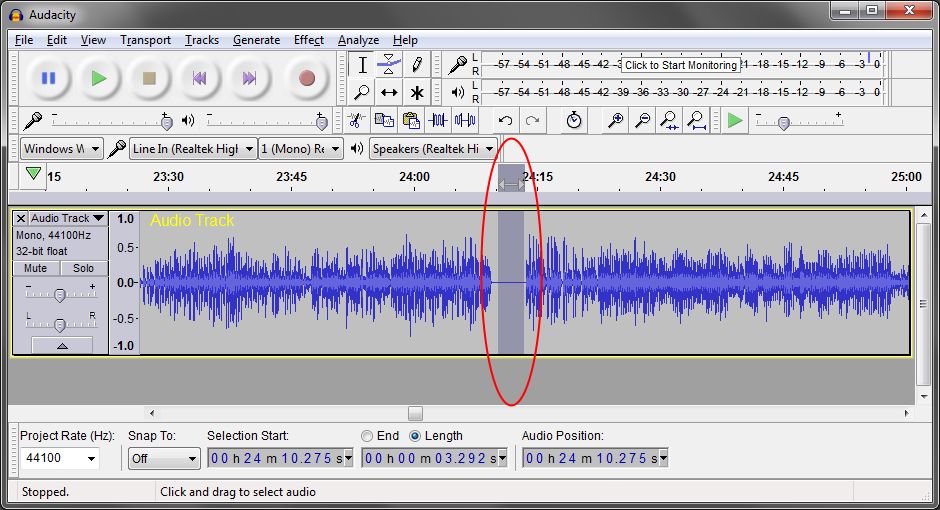
Tape noise from a commercial tape will be lower than surface noise from a record, but even reel-to-reel tapes can have a small amount of hiss, with cassettes likely to have more and 8-tracks the most of all. In addition, even the best analog electronic devices were prone to small amounts of noise. Fortunately, Audacity provides a simple and effective method of removing this constant noise without impacting the music. You'll find it on the Effects menu. But before you look at the menu, you will need to select a small portion of the file in between tracks, so the noise can be analyzed apart from the music. The best place to look, I have found, is between tracks in the middle of their side. After selecting and zooming in to the selection, tweak it so the sample does not include obvious pops. In this step we are just getting a noise sample.
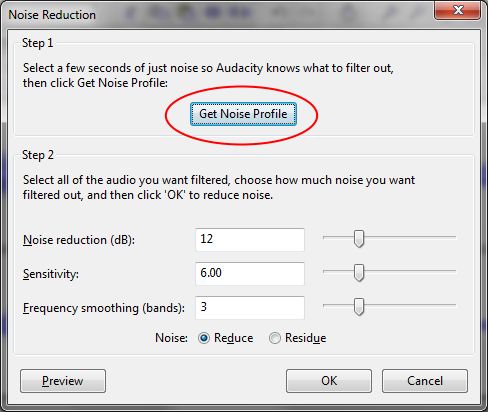
Now, click Effect…Noise Reduction. That will bring up the Noise Reduction dialog. But we are not ready to apply noise reduction; instead we have to click the Get Noise Profile button first.
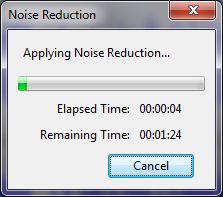
Now that Audacity knows what this file's noise "looks like", we must select the entire file and click Effects…Noise Reduction again. Now that we already have our noise profile, we'll click the OK button and allow it to do its thing.
Splitting Tracks
Now that we've done anything we'd want to do to the album as a whole (sonically speaking), it's time to split it into individual tracks. This is done based on the silence that normally separates tracks, generally about two seconds of it.
To let Audacity split the tracks for you, choose Analyze…Silence Finder, which will bring up this dialog:
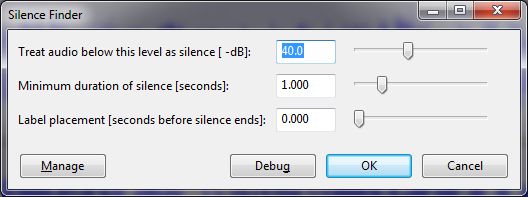
I have modified the default values a bit after some experimentation. Especially note the minimum delay at 1 second. On some albums, you might need to go even lower. But too low, and you risk false positives. That's okay, because the Silence Finder doesn't actually do anything to your audio; it simply adds labels to the end of each silence (by your definition on this dialog box) it finds. But obviously it will be less work for you if there aren't too many false labels to remove.
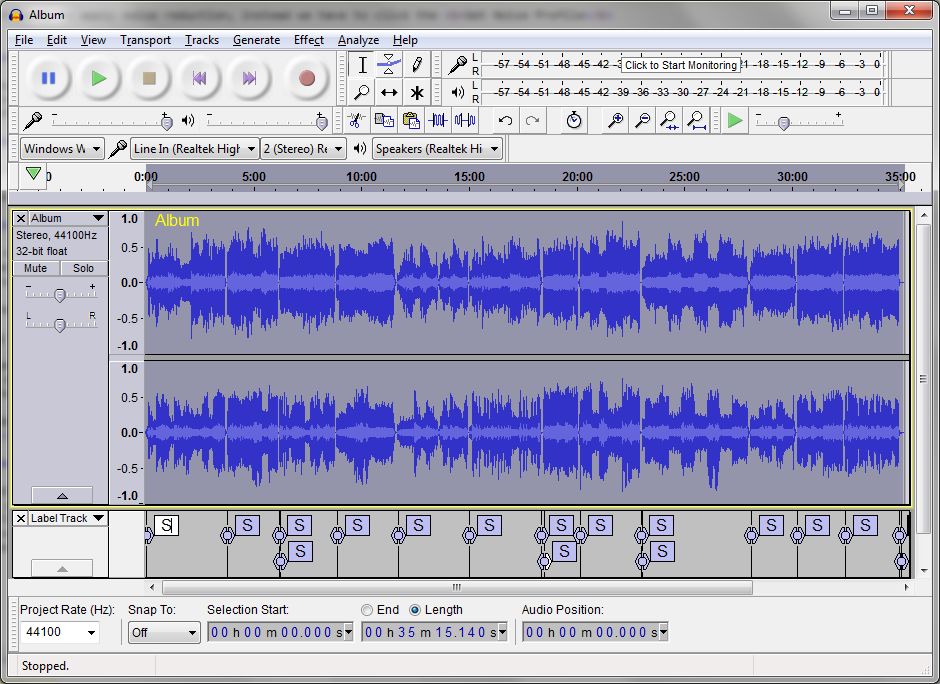
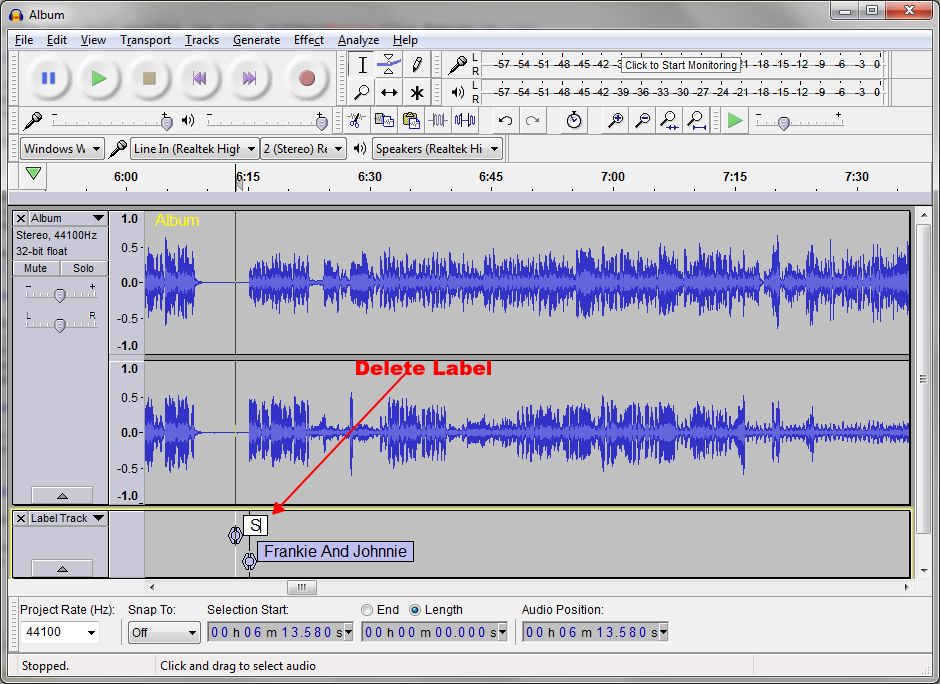
As you can see, you can even tell where there's an extra label. But what we're going to do, is zoom in closer so we can see which label is the "real" one, and to change the default label "S" to the actual title of that track.
All you have to do is click inside the label and type.
When you come to a spurious label, right-click in it and select Delete Label. Then name the good one.
There are, of course, a few albums (of live performances, for example) where there is no silence between tracks. In such cases, you'll have to mark the tracks manually, which you do by clicking where you want the break to occur, then using the Tracks…Add Label at Selection command will insert the label.
When you are done removing spurious labels and filling in the rest, zoom out. You should have one label for each track (count 'em).

Now we are ready to File…Export Multiple… to, at one time, create the separate tracks and convert them to the digital audio format of your choice.
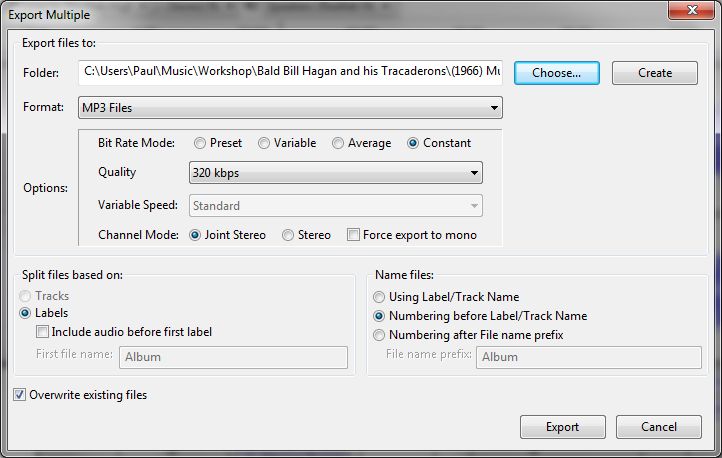
In this case, I have chosen to save these tracks as MP3s.
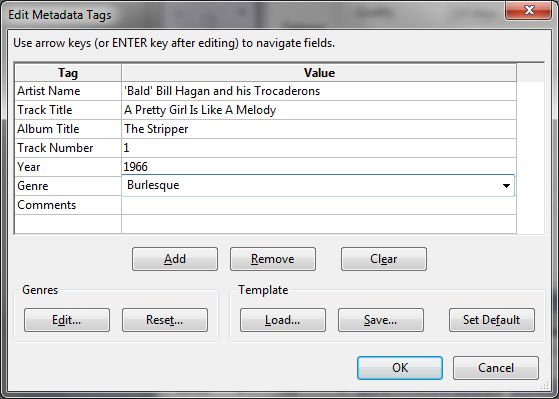
When you click Export, a dialog box will appear once for each track. The box will appear with the track number and track title already provided (from context, and from the label names). The box contains fields for the Album, Artist, and so on. You only need provide this additional information once, as it will be easy to repeat it with MP3tag. So, after the first appearance of the dialog, you may simply click OK until you've dismissed the last one.
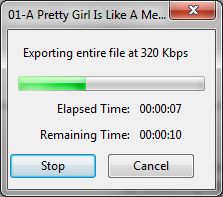
In a very few minutes, your tracks will have been saved.
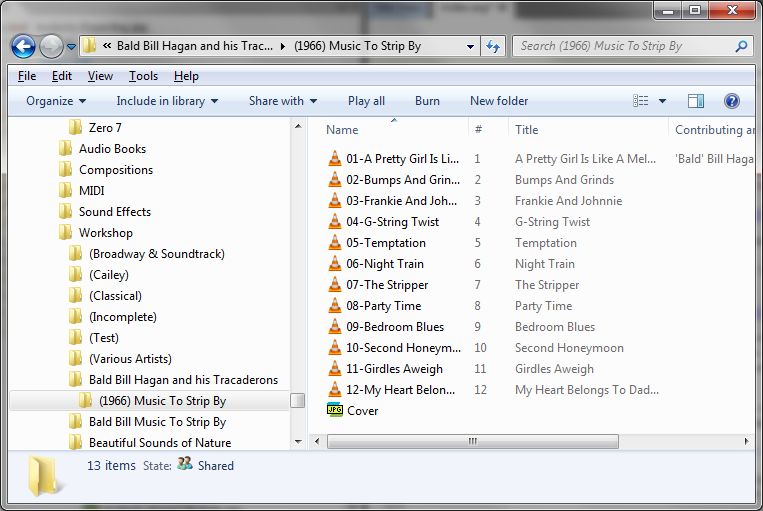
And you'll find them in the desired folder, ready for the Polishing steps (including populating all tracks with the Album and Artist from the first).